


Learning how to make scented candles at home is a rewarding and creative journey for beginners. Whether you want to fill your living space with your favorite fragrances or craft unique gifts for loved ones, making candle scented candles can be both relaxing and practical. This guide will walk you through each essential step, offering tips on choosing the right wax, fragrance compatibility, wick selection, and more, all while emphasizing safety and best practices. By following these instructions, even first-time crafters can achieve beautiful, aromatic results and enjoy a cozy, fragrant ambiance in their own home.
Before you begin, it’s important to understand the basics of scented candles and the materials involved. Candle making is not only about melting wax and adding scent—there’s an art and science to balancing fragrance, choosing the proper containers, and ensuring your candles burn safely and evenly. In this guide, you’ll find detailed explanations, real-world examples, and a checklist to help you avoid common mistakes. Let’s start your candle making journey with confidence and creativity.
Gathering Your Candle Making Tools and Workspace
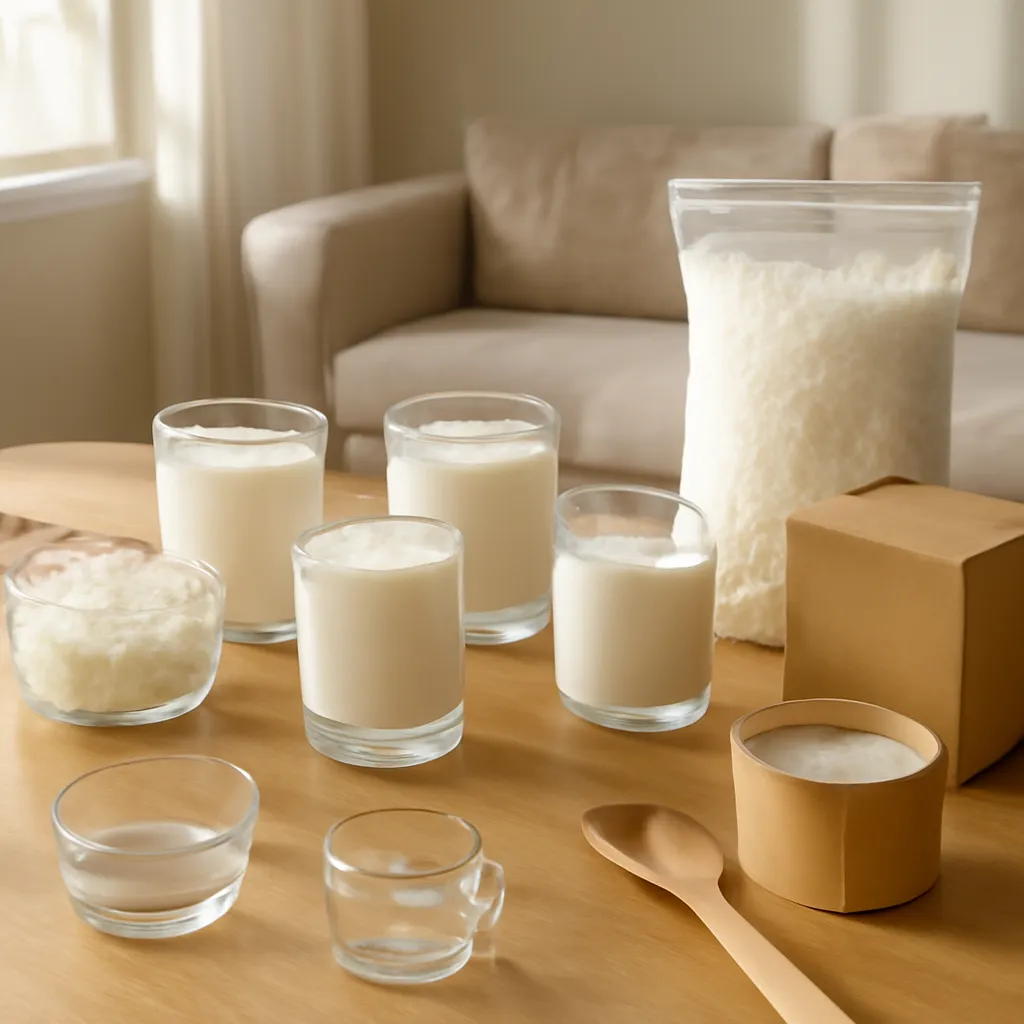
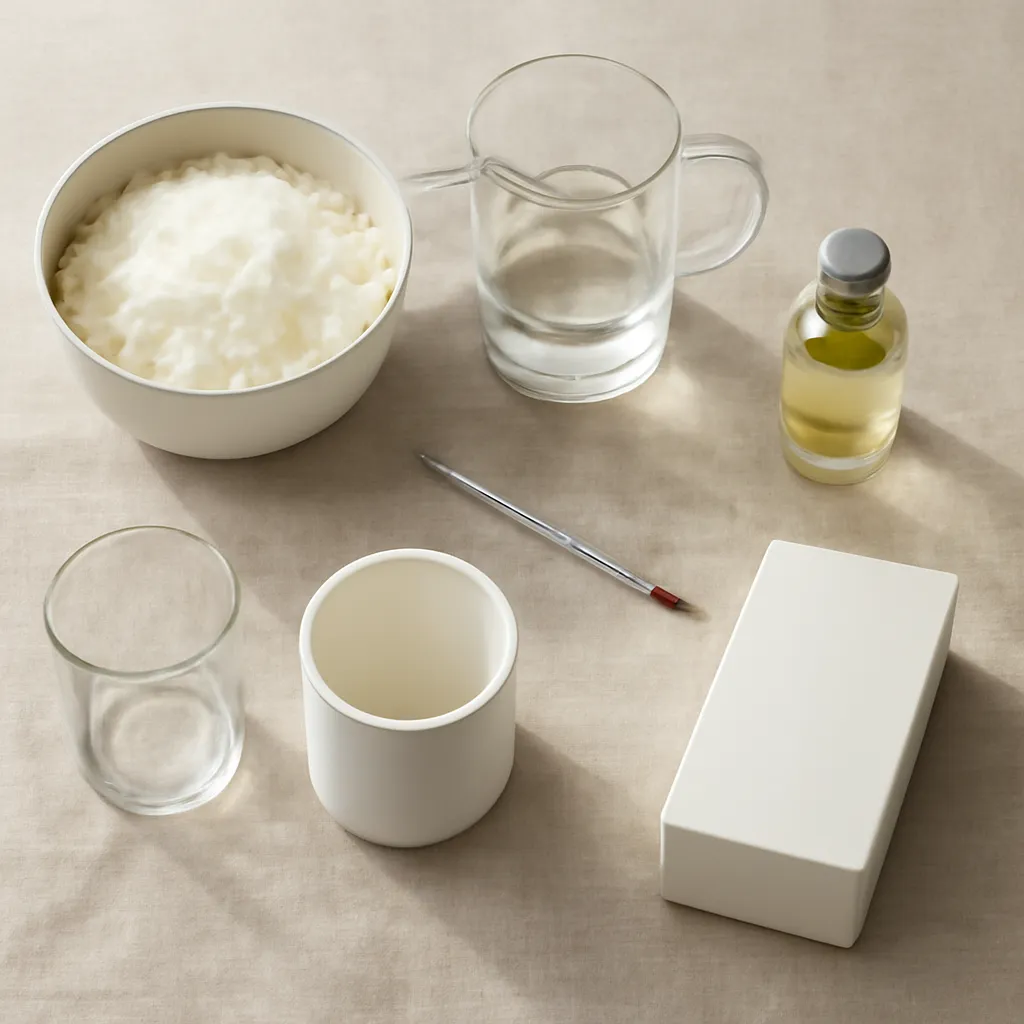
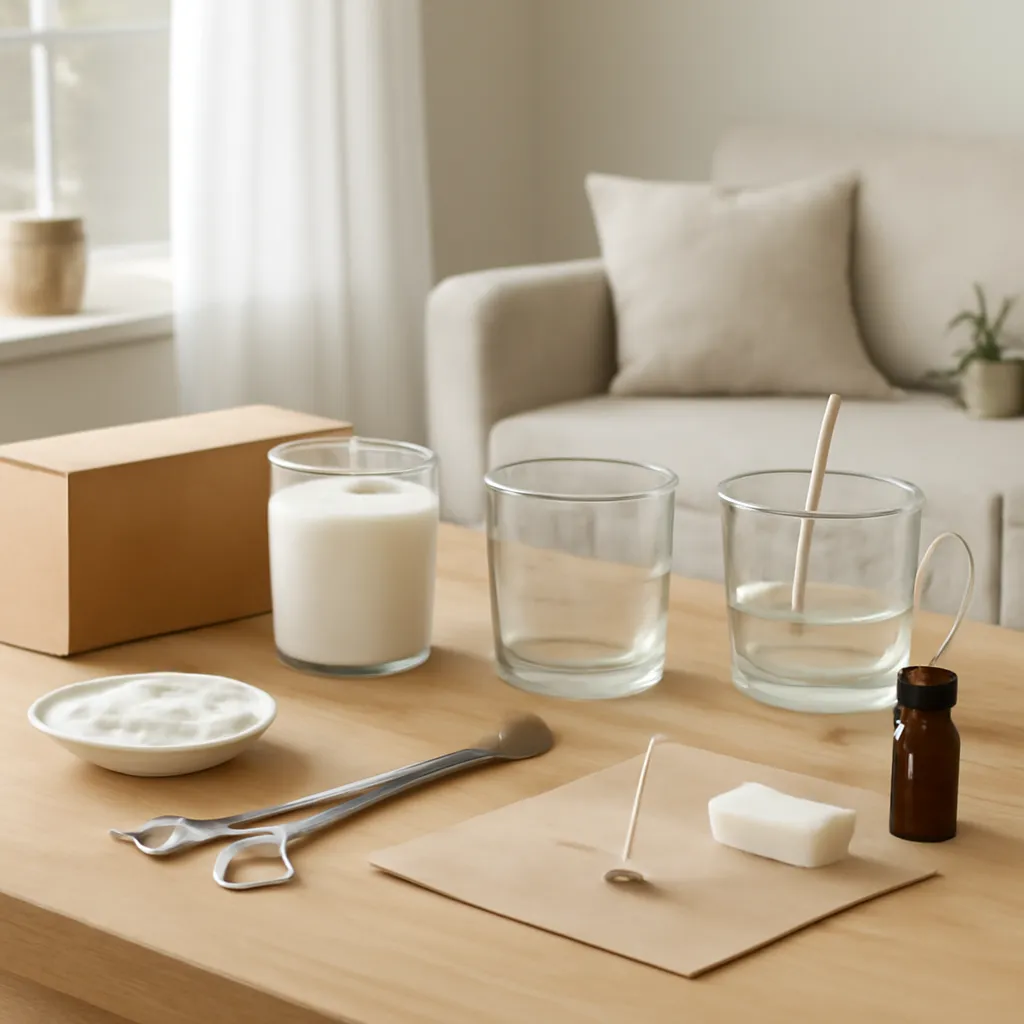
Setting up an organized workspace is essential when learning how to make scented candles. Choose a flat, stable surface in a well-ventilated area, away from children and pets. Gather all your tools before starting to ensure a smooth workflow. You’ll need a heat-resistant pouring pitcher, a digital thermometer, a kitchen scale, a sturdy spoon or spatula, and a double boiler or wax melting pot. Glass or metal containers work well for beginners, offering both safety and style.
Don’t forget safety equipment such as heat-resistant gloves, a dedicated apron, and paper towels for spills. Keep a fire extinguisher or baking soda nearby in case of emergencies, and never leave melting wax unattended. For those interested in perfecting their craft, consider adding a wick centering tool, a silicone spatula, and a dedicated cleaning brush to your kit. Organizing your workspace ahead of time not only keeps the process stress-free but also minimizes the risk of accidents.
Having a checklist can make the process even easier. Lay out your wax, fragrance oils, wicks, containers, and measuring tools before you start. This step-by-step approach ensures that you won’t forget anything and helps you stay focused on creating beautiful candle scented candles. An organized setup is the first step to consistent, high-quality results every time.
Choosing the Right Wax for Scented Candles
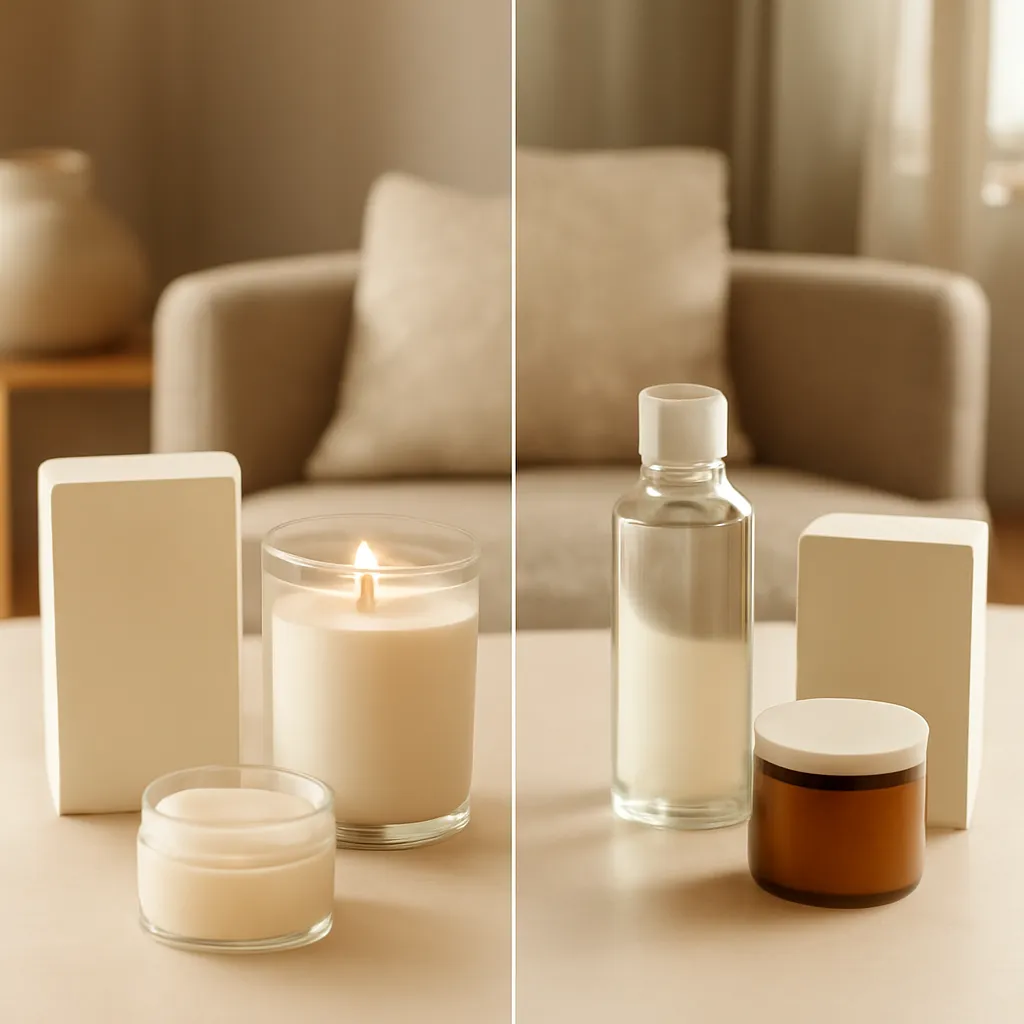
The type of wax you select has a significant impact on the appearance, scent throw, and burn quality of your candle scented candles. Soy wax is a favorite among beginners due to its clean burn, renewable source, and excellent fragrance retention. Beeswax is another natural option, prized for its subtle honey scent and longer burn time, though it can be more challenging to scent and pour. Paraffin wax, while widely available and affordable, is less popular with those seeking a natural candle-making experience.
When learning how to make scented candles, consider the compatibility of your chosen wax with fragrance oils and dyes. Soy wax blends well with a variety of scents and colors, making it versatile for experimentation. Beeswax, while beautiful, can sometimes overpower delicate fragrances, so opt for stronger scent profiles if you choose this wax. For those interested in exploring more options, coconut and palm waxes offer unique textures and eco-friendly benefits, though they may require additional research and practice.
Always purchase wax from reputable suppliers to ensure purity and safety. Look for waxes labeled specifically for candle making, as these are formulated to hold fragrance and burn evenly. If you’re unsure where to start, try a soy wax starter kit, which typically includes pre-measured flakes and instructions. This makes the process approachable and minimizes the risk of common beginner mistakes.
Selecting Fragrance Oils and Understanding Compatibility
Fragrance oils are the heart of scented candles, transforming simple wax into a sensory experience. When selecting fragrance oils, choose those labeled as candle-safe and phthalate-free for optimal performance and safety. Essential oils can be used, but not all are suitable for candle making due to their flash points and solubility. Always check the manufacturer’s recommendations before adding any oil to your wax.
The ideal fragrance load—the amount of oil added to wax—varies depending on wax type and personal preference. For soy wax, a typical range is 6–10% by weight. Adding too much fragrance can cause the candle to sweat or burn unevenly, while too little may result in a faint scent. Use a kitchen scale to measure your fragrance oil precisely, and always stir thoroughly to ensure even distribution.
Fragrance compatibility also extends to the type of wax and wick you use. Some fragrances may discolor lighter waxes or affect burn performance. Test small batches before committing to a large pour, and record your results for future reference. If you’re looking for inspiration, browse the soy candle collection at TadaVN Candles for ideas on fragrance pairings and combinations that work well in home environments.
Picking the Perfect Wick and Container
The wick is a critical component in how to make scented candles successfully. The right wick ensures a steady flame, even wax pool, and optimal scent throw. Wicks come in various materials—cotton, wood, and paper-core are common choices. Cotton wicks are versatile and easy to use, making them ideal for beginners. Wooden wicks provide a soft crackle and modern aesthetic but require precise sizing and placement.
Wick size should match your container’s diameter and wax type. Too small, and the candle may tunnel; too large, and it could burn too hot or produce soot. Most suppliers offer wick size charts based on container width and wax blend. When starting out, purchase a sample pack of wicks and conduct simple burn tests to determine the best fit for your project.
Choosing the right container is equally important. Glass jars, metal tins, and ceramic vessels are popular for their durability and heat resistance. Make sure your containers are free of cracks and can withstand high temperatures. Clean each jar thoroughly before pouring to prevent impurities from affecting the final candle. For a touch of elegance, consider clear glass jars that showcase the color and texture of your candle scented candles.
Weighing, Melting, and Monitoring Temperature
Accurate weighing and temperature control are key steps in how to make scented candles with consistent results. Use a digital kitchen scale to measure wax and fragrance oil by weight, not volume, for greater precision. Most beginner kits provide instructions for the ideal wax-to-fragrance ratio, but always refer to your wax supplier’s guidelines for best results.
To melt your wax, use a double boiler or a dedicated wax melting pot. Never heat wax directly on a stovetop, as it can scorch or catch fire. Heat the wax slowly, stirring occasionally, until it reaches the recommended melting temperature (usually between 170°F and 185°F for soy wax). Use a thermometer to monitor the temperature closely and avoid overheating, which can degrade the quality of both the wax and fragrance.
Once the wax is fully melted, remove it from heat and allow it to cool slightly before adding fragrance oil. Most fragrance oils blend best when the wax is between 160°F and 180°F. Stir gently but thoroughly for at least two minutes to ensure even distribution. This careful approach helps lock in scent and prevents issues like sweating or uneven burning in your finished candle.
Pouring, Centering, and Setting Your Candles
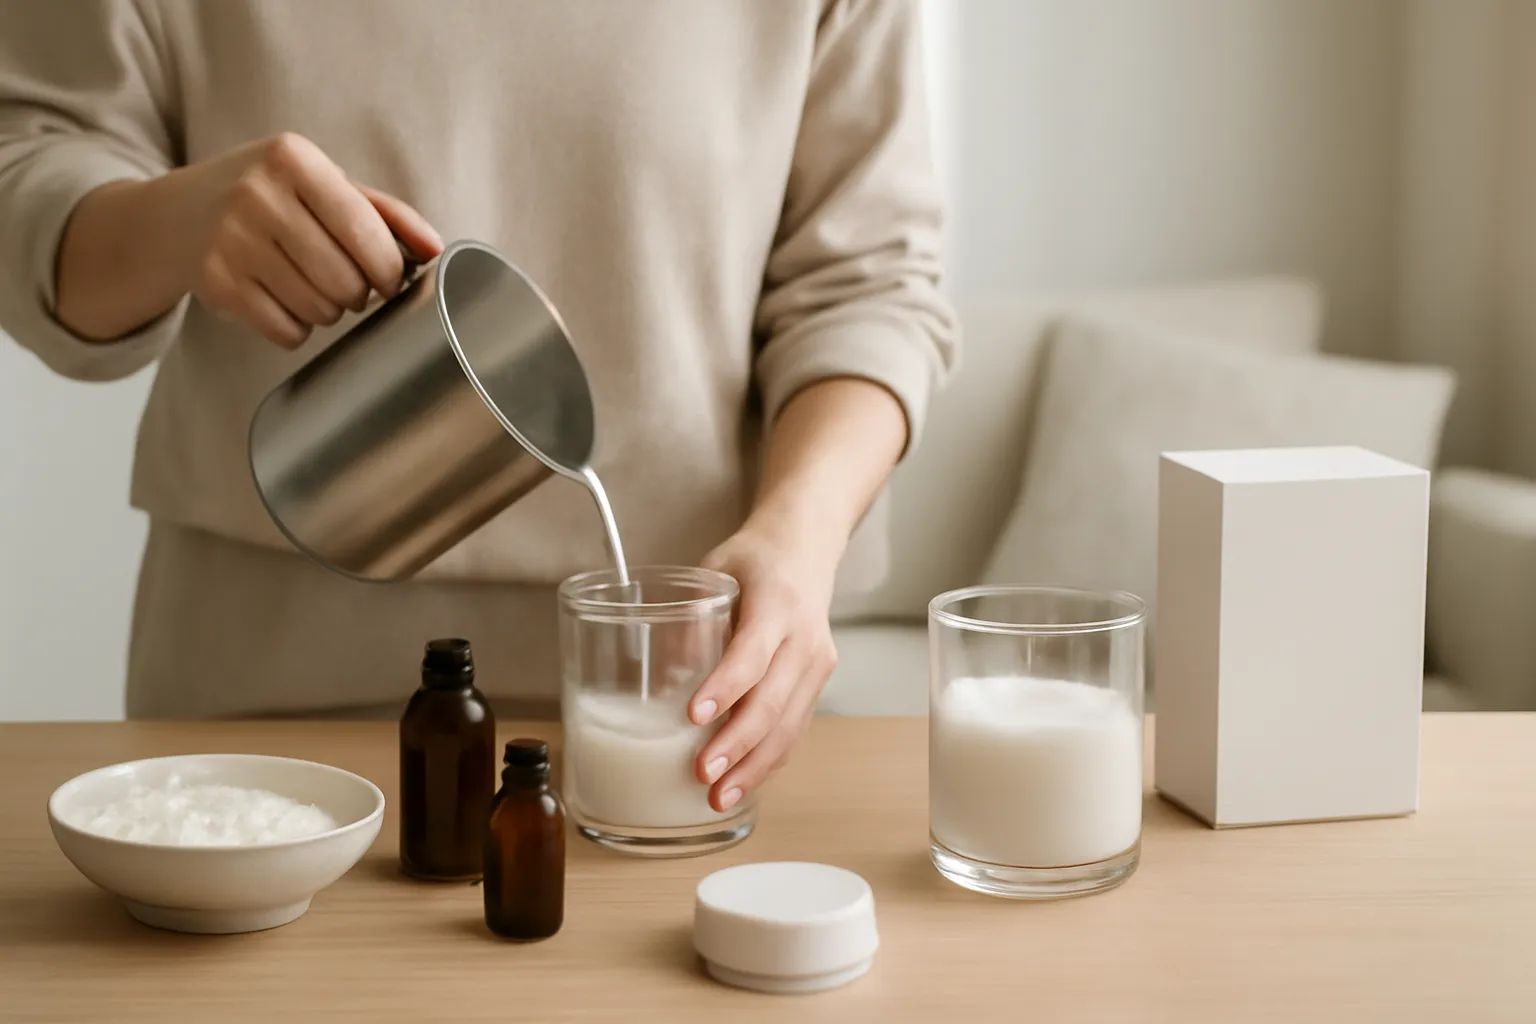
Pouring is a delicate but rewarding stage in how to make scented candles. Before pouring, secure your wick in the center of your container using a wick sticker or a dab of melted wax. Use a wick centering device or a pair of chopsticks to keep the wick upright as the wax sets. Pour the melted wax slowly and steadily, filling the container to your desired level while avoiding air bubbles.
Allow the candles to cool at room temperature, away from drafts or direct sunlight, to prevent cracking or uneven surfaces. Most soy wax candles will set within a few hours, but thicker or larger candles may take longer. Resist the urge to move or disturb the candles until they are fully solidified to achieve a smooth, professional finish.
After the wax has set, trim the wick to about 1/4 inch above the surface. This ensures a clean, even burn when you light your candle for the first time. If you notice any imperfections, such as sinkholes or uneven surfaces, you can gently reheat and top off the candle with a thin layer of melted wax. This extra step gives your candle scented candles a flawless, polished look.
Curing, Testing, and Troubleshooting Common Issues
Curing is an often-overlooked step in how to make scented candles, but it’s essential for achieving the best scent throw and burn quality. Allow your candles to cure with the lid on (if using jars) for at least 3–7 days before burning. This resting period lets the fragrance fully bind with the wax, resulting in a richer, more consistent aroma when lit.
Before gifting or using your candle scented candles, conduct a burn test. Light the candle and let it burn for a few hours, observing the flame, wax pool, and scent throw. If the candle tunnels, consider using a larger wick next time. If it burns too quickly or produces soot, try a smaller wick or adjust your fragrance load. Record your findings for future reference and don’t hesitate to experiment with different combinations.
Common issues include wet spots on the glass, uneven surfaces, or weak scent. Most of these can be resolved by adjusting your pouring temperature, fragrance load, or wick size. For persistent problems, consult reputable candle making forums or guides for troubleshooting tips. Remember, practice and patience are key to mastering how to make scented candles at home.
Safety Tips and Responsible Candle Making
Safety is paramount when making and burning candle scented candles at home. Always use heat-resistant containers and handle hot wax with care. Never leave melting wax unattended, and keep your workspace free of flammable materials. Store fragrance oils and dyes out of reach of children and pets, and clean up spills immediately to prevent accidents.
When burning your finished candles, follow standard candle safety guidelines. Trim the wick to 1/4 inch before each use, and never burn a candle for more than four hours at a time. Place candles on a stable, heat-resistant surface, away from drafts, curtains, or other flammable items. Keep burning candles within sight and extinguish them before leaving the room or going to sleep.
For those who enjoy a variety of scents, consider exploring the home fragrance options available at TadaVN Candles. Their curated selection ensures you can safely enjoy a range of aromas while keeping your home cozy and inviting.
Creative Additions: Color, Texture, and Personalization
Once you’ve mastered the basics of how to make scented candles, experiment with creative touches to make each candle unique. Add candle-safe dyes or mica powders for color, but always use products specifically designed for candle making to ensure safety and performance. Layer different colors for a striped effect, or swirl pigments gently for a marbled look.
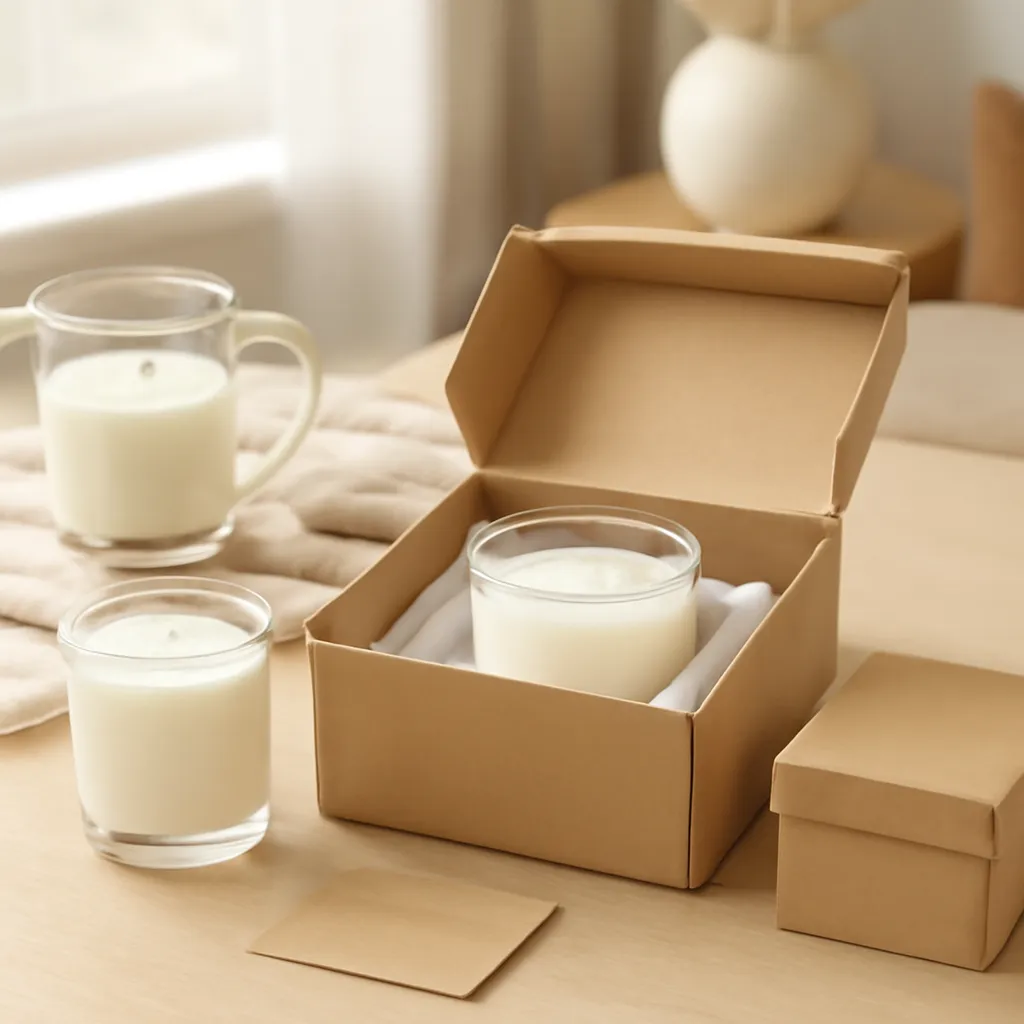
Consider embedding dried flowers, botanicals, or decorative stones in the wax for added visual interest. Be sure to place these items away from the wick to prevent burning or smoke. You can also personalize your candle scented candles with custom labels, ribbons, or gift packaging—perfect for special occasions or thoughtful gifts.
For a professional finish, invest in reusable silicone molds or elegant glass jars. These not only enhance the appearance of your candles but also make them easier to remove and display. If you’re looking for inspiration, check out the scented candles available at TadaVN Candles for ideas on presentation and packaging.
Conclusion: Bringing Warmth and Fragrance Home with TadaVN Candles
Mastering how to make scented candles is more than just a craft—it’s an invitation to create a cozy, personalized atmosphere in your home. Each candle you pour brings a sense of accomplishment and a touch of luxury to everyday life. Whether you’re making candles for yourself or as gifts, the process offers endless opportunities for creativity and self-expression.
For those who appreciate the ambiance of a beautifully scented room but prefer the convenience of expertly crafted products, TadaVN Candles offers a curated selection of high-quality, hand-poured candles. Their attention to detail and commitment to home fragrance make it easy to find the perfect scent for any occasion. Explore their collection at TadaVN Candles and discover how a simple candle can transform your space into a warm, inviting retreat.