



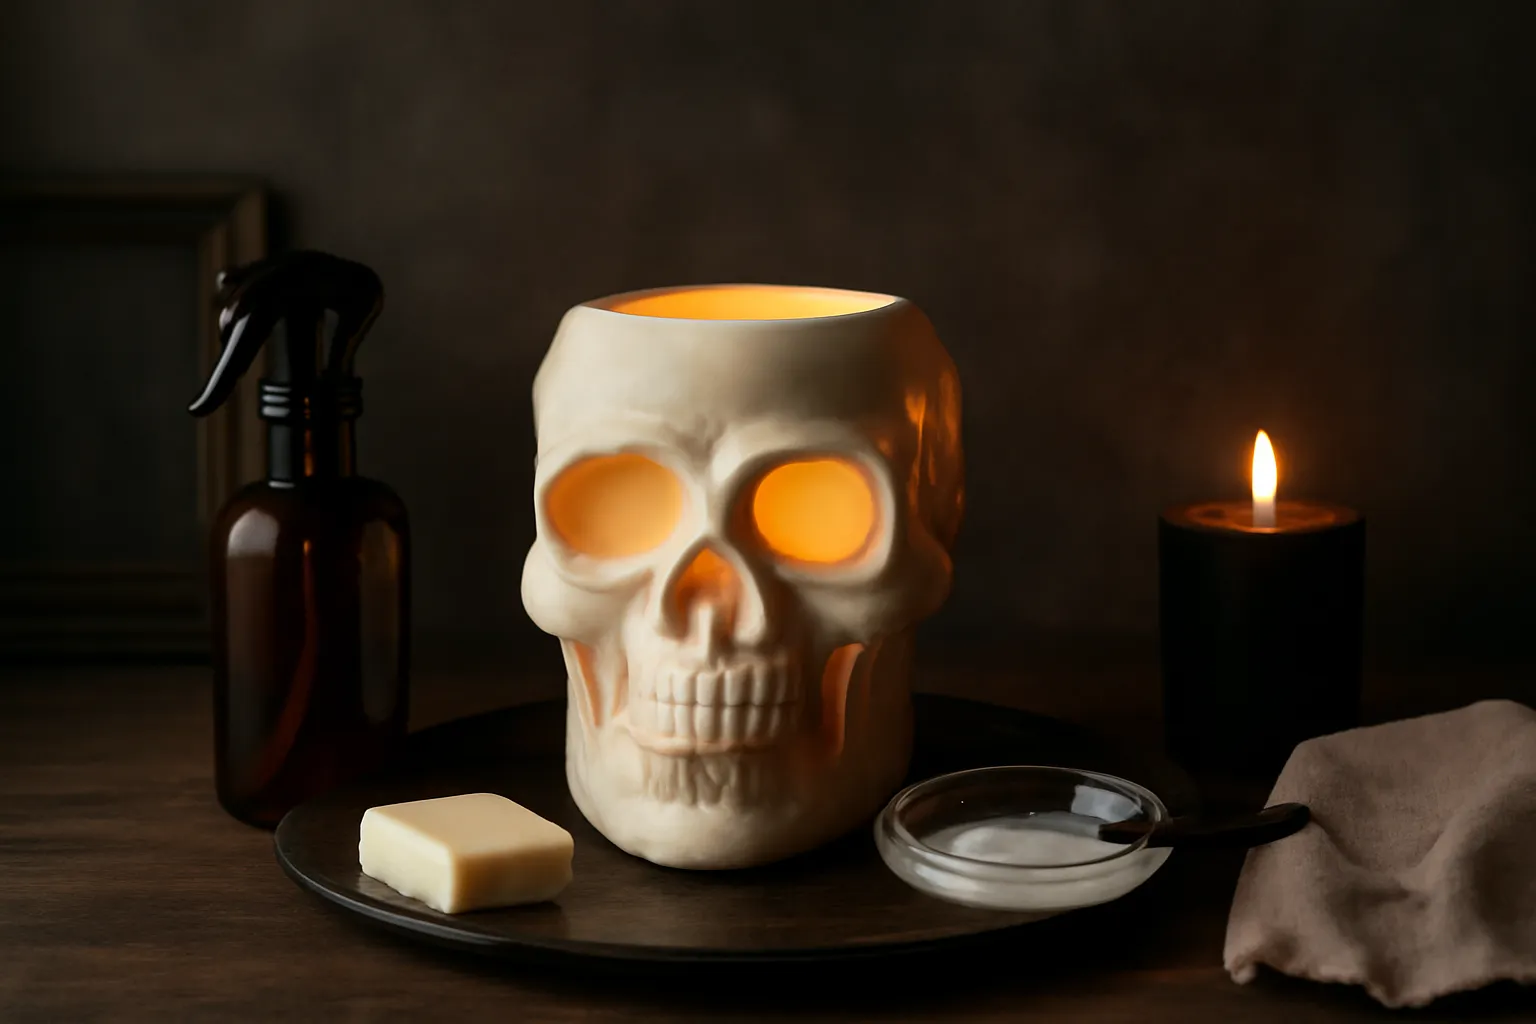
If you’re passionate about home fragrance and love the bold look of a skull wax warmer, you know how important it is to keep your piece looking pristine. Cleaning your skull wax warmer isn’t just about appearance—it ensures long-lasting performance and a pure scent experience every time you use a new skull wax melt. However, improper cleaning can lead to scratches on the dish, lingering old fragrances, or even damage to the skull wax burner itself. This comprehensive guide will walk you through every step of cleaning your skull wax warmer, with a strong focus on safety, gentle care, and preserving the unique aesthetic of your favorite décor piece.
Whether you’re a seasoned wax melt enthusiast or just discovering the appeal of a gothic-inspired skull wax burner, you’ll find practical advice and easy-to-follow tips here. From the initial cool-down to the final polish, each section breaks down the safest techniques and products to use. You’ll also learn what to avoid, how to store your warmer between uses, and the best way to prepare your skull wax warmer for a fresh, clean fragrance every time. Let’s dive in and ensure your skull wax warmer remains the centerpiece of your cozy, stylish space.
Let the Skull Wax Warmer Cool Completely
Before you even think about cleaning, the most important step is allowing your skull wax warmer to cool down fully. Never attempt to handle, move, or clean your skull wax burner while it’s still hot, as this can cause burns or cracks in the ceramic or glass. Most skull wax warmers are designed to retain heat for a while, so unplug your electric warmer or extinguish the tealight and give it at least 30-45 minutes to return to room temperature.
Patience is key here, especially if you want to avoid accidental damage. Trying to remove a skull wax melt while the dish is still warm can lead to spills or warping, particularly with intricate or hand-painted skull designs. If you’re unsure whether your warmer is cool enough, gently touch the base or the outer edge of the dish—if it feels warm, wait a bit longer. This cooling period also gives the wax time to harden, making the removal process smoother and less messy.
For homes with children or pets, always keep the cooling skull wax warmer out of reach. Place it on a heat-resistant surface and never submerge it in cold water to speed up the process, as this can cause thermal shock and damage the finish. By starting with a completely cool skull wax burner, you set the stage for safe, effective cleaning every time.
Soft Wax Removal: The Push-and-Pop Method
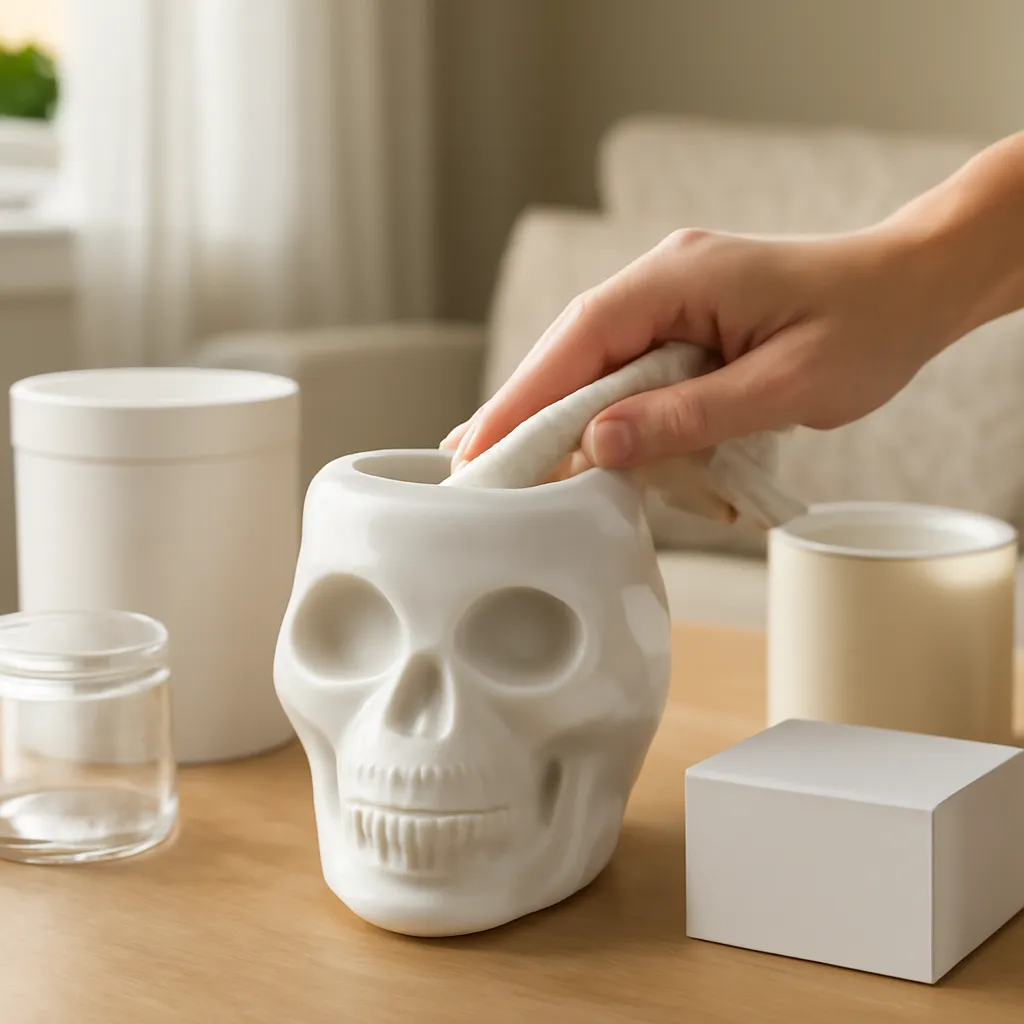
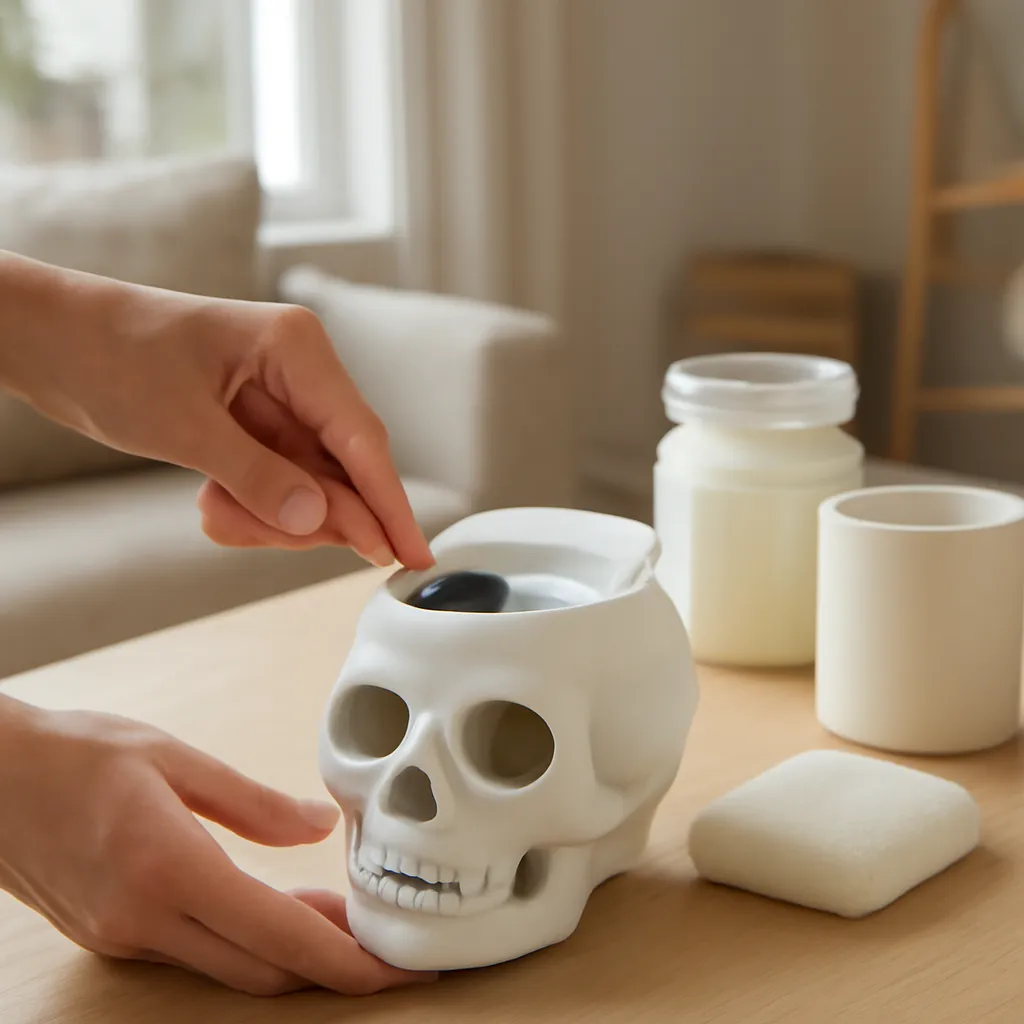
Once your skull wax warmer is cool, you’ll notice that the skull wax melt has solidified into a firm disk. The easiest and safest way to remove this is the push-and-pop method. Start by gently pressing on one edge of the wax with your fingers or a soft, non-abrasive silicone spatula. If your dish is made of ceramic or glass, this approach prevents scratching and avoids the risk of chipping delicate details.
For stubborn wax that doesn’t lift easily, try placing the dish in the freezer for 5–10 minutes. The cold will help the wax contract, making it much easier to pop out cleanly. Avoid using sharp tools, metal knives, or anything that could gouge the surface of your skull wax burner. If a bit of wax remains stuck, don’t force it. Instead, move on to the next cleaning step to gently dissolve any residue.
This method works especially well for high-quality skull wax melts that are designed to release cleanly from the dish. If you’re using colored or heavily fragranced melts, removing the bulk of the wax in one piece will prevent staining and make it easier to switch scents without lingering aromas. Always dispose of used wax in the trash—never pour it down the sink, as it can cause clogs.
The Cotton Ball Method: Absorbing Liquid Wax Safely
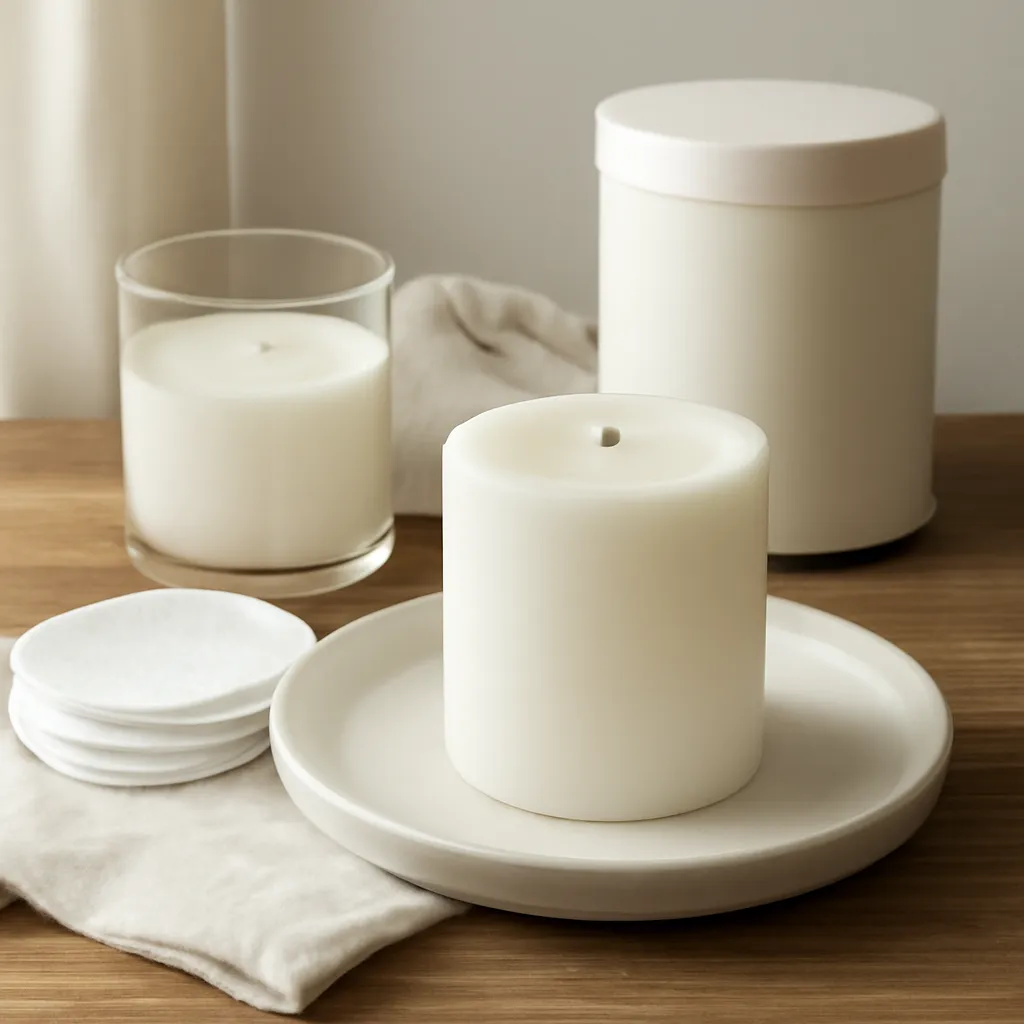
If you prefer to clean your skull wax warmer while the wax is still slightly soft or want to remove the last bit of melted wax, the cotton ball method is a gentle and effective solution. Begin by turning off the warmer and letting the wax cool until it’s warm but not hot—think of the texture of soft butter. Then, take a few cotton balls or pads and gently place them on top of the wax. The cotton will absorb the liquid wax without scratching the dish.
Let the cotton sit for a few moments to soak up as much wax as possible. Then, carefully lift it out and discard it in the trash. Repeat as needed with fresh cotton balls until the dish is mostly clean. This method is especially useful for removing highly pigmented or scented skull wax melts that can leave behind a film. It’s also safer for intricate skull wax burner designs, as there’s no scraping or pressure applied to the surface.
For eco-friendly cleaning, consider using reusable cotton pads or soft microfiber cloths. Just be sure to wash them thoroughly after each use to prevent wax buildup. Avoid paper towels, which can tear and leave fibers behind. The cotton ball method is a favorite among home fragrance lovers for its simplicity and effectiveness, especially when paired with high-quality wax melts from the soy candle collection at TadaVN Candles.
Gentle Wiping: Choosing the Right Cloth and Technique
After removing the bulk of the wax, it’s time to give your skull wax warmer a gentle wipe-down. Select a soft, lint-free microfiber cloth or a clean, non-abrasive sponge. Avoid anything with a rough texture, as even minor abrasives can scratch the glossy or matte finish of your skull wax burner. Lightly dampen the cloth with warm water and, if needed, add a drop of mild dish soap to help dissolve any remaining residue.
Wipe the dish in gentle, circular motions, paying special attention to any grooves or sculpted details in your skull wax warmer. For stubborn spots, let the damp cloth sit on the area for a minute before wiping again. Never use harsh chemicals, bleach, or abrasive cleaners, as these can strip the finish or dull the intricate skull design. If your warmer features a removable dish, you can clean it separately, but always dry it thoroughly before reassembling.
Once you’re satisfied with the cleanliness, use a dry microfiber cloth to buff the dish and remove any moisture. This step ensures that your skull wax melt will perform at its best the next time you use your warmer, without any leftover scent or residue interfering with the fragrance. Consistent gentle wiping keeps your skull wax burner looking its best and ready for display.
Handling Residue and Stubborn Fragrance
Even after a thorough wipe-down, some skull wax warmers may retain traces of fragrance or color from previous skull wax melts. To handle this, create a solution of equal parts white vinegar and warm water. Dip a soft cloth into the mixture and gently wipe the dish, focusing on areas where scent or color lingers. Vinegar is effective at neutralizing odors and dissolving oily residue, but it’s gentle enough not to damage most ceramic or glass finishes.
For particularly stubborn stains, let the vinegar solution sit on the area for a few minutes before wiping clean. Rinse the dish with plain water and dry thoroughly with a lint-free cloth. If your skull wax burner is made from a more delicate material, always test a small, inconspicuous area first to ensure no discoloration occurs. Avoid using any abrasive pads or scouring powders, as these can permanently scratch the surface and ruin the aesthetic of your skull wax warmer.
Regularly addressing residue ensures that each new skull wax melt delivers a pure, untainted fragrance. It also prolongs the life of your skull wax burner by preventing buildup that can affect performance. For a truly fresh start, consider rotating between different types of wax melts, such as the home fragrance options from TadaVN Candles, and always follow the cleaning routine after each use.
What Not to Use: Prohibited Tools and Cleaners
Protecting your skull wax warmer means knowing what to avoid during cleaning. Never use metal utensils, knives, or hard plastic scrapers to remove wax, as these can easily scratch or chip the dish. Steel wool, abrasive sponges, and harsh chemical cleaners are also off-limits, as they can damage both the finish and the intricate skull detailing.
Stay away from products containing bleach, ammonia, or acetone, which can strip color and leave behind toxic residues. If your skull wax burner has electrical components, never immerse it in water or allow moisture to seep into the wiring. Always consult the manufacturer’s manual for specific care instructions, especially if your warmer features unique materials or finishes.
By sticking to soft cloths, gentle cleaning solutions, and non-abrasive tools, you’ll keep your skull wax warmer looking as striking as the day you bought it. This careful approach also ensures that each skull wax melt performs at its best, without contamination from leftover chemicals or scratches that trap old scents.
Safe Storage and Display Between Uses
Proper storage of your skull wax warmer between uses is just as important as cleaning. Always store your warmer in a cool, dry place, away from direct sunlight or extreme temperatures. If you have a removable dish, keep it separate from the warmer base to prevent accidental knocks or scratches. For homes with pets or young children, choose a high shelf or enclosed cabinet to keep your skull wax burner out of reach.
When displaying your skull wax warmer, place it on a stable, heat-resistant surface with ample clearance around it. Avoid cluttered areas where it might be bumped or exposed to spills. If you use your warmer seasonally or only for special occasions, consider wrapping it in a soft cloth or storing it in its original box for extra protection. This prevents dust buildup and keeps the finish looking fresh.
Regularly inspect your skull wax warmer for any signs of wear, such as chips or cracks, and address them promptly to prevent further damage. By taking a few simple precautions, you’ll ensure your skull wax burner remains a statement piece in your home for years to come, always ready for your next favorite skull wax melt.
Step-by-Step Cleaning Sequence Checklist
- Unplug or extinguish your skull wax warmer and let it cool completely.
- Remove the solidified skull wax melt using the push-and-pop method or by chilling the dish.
- For leftover liquid wax, use the cotton ball method to absorb safely.
- Wipe the dish with a soft, damp microfiber cloth and mild soap if needed.
- Address any lingering residue with a vinegar and water solution.
- Dry thoroughly with a clean, lint-free cloth.
- Inspect for scratches or damage before storing or using again.
- Store your skull wax burner in a safe, dry location between uses.
Following this checklist ensures that every cleaning session is thorough, safe, and scratch-free. By adopting these habits, you’ll enjoy consistent performance and a beautiful, fragrance-ready skull wax warmer every time.

Conclusion: Complete Your Cozy Ritual with TadaVN Candles
Maintaining a clean, scratch-free skull wax warmer is essential for both the longevity of your piece and the quality of your home fragrance experience. By following these gentle, step-by-step methods, you ensure that every skull wax melt performs at its best, free from old scents or residue. A well-cared-for skull wax burner becomes more than just a décor item—it’s the heart of your cozy rituals and a reflection of your personal style.
At TadaVN Candles, we believe that the right ambiance starts with a clean, beautiful warmer and the finest wax melts. Our curated selection of scented candles and wax warmers is designed to help you create moments of comfort and style in every season. Let your skull wax warmer shine as the centerpiece of your space, and trust TadaVN Candles to provide the products and inspiration you need for a welcoming, fragrant home.