



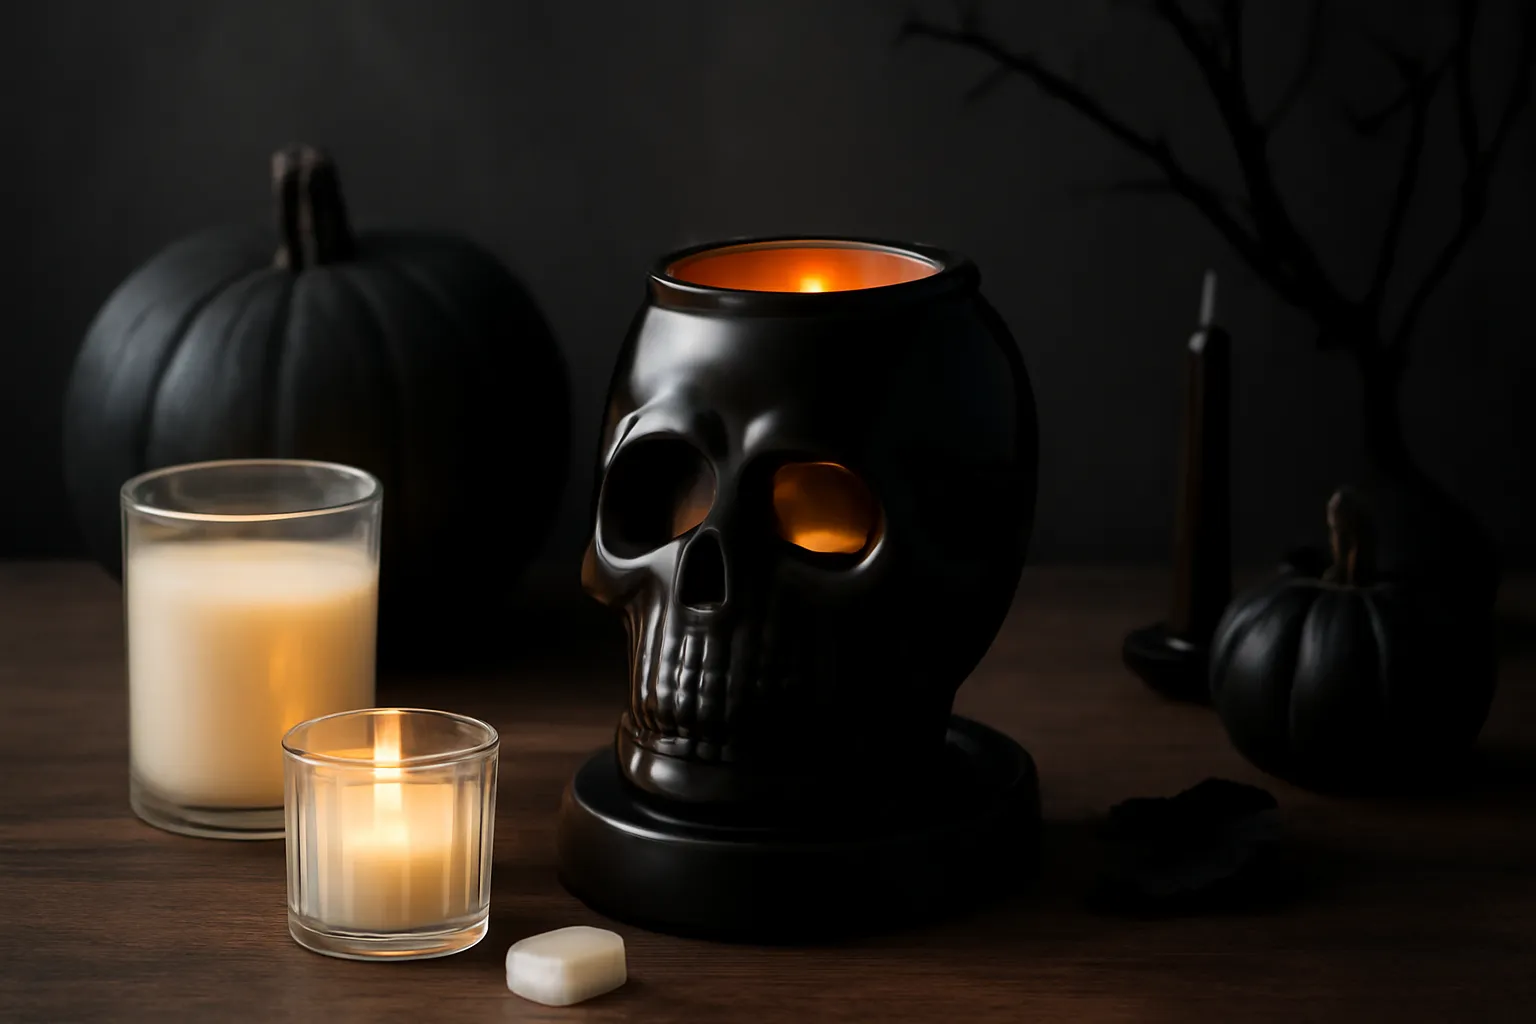
As autumn settles in and Halloween approaches, the urge to create a warm, inviting atmosphere at home grows stronger. For many, the quickest way to infuse a space with both festive style and irresistible fragrance is with a halloween electric wax warmer. These versatile devices offer a mess-free, flame-free approach to home scenting, while doubling as eye-catching seasonal decor. Whether you’re prepping for a small gathering or simply want to enjoy cozy fall evenings, a well-placed halloween candle warmer can transform your home in minutes.
This guide is designed for those who crave a quick, no-fuss setup. In just ten minutes, you’ll have your electric skull wax warmer ready, your favorite wax melting, and a trio of simple Halloween accents completing the look. We’ll walk through each step—from location selection to adding decorative touches—so you can enjoy instant ambiance with minimal effort. Read on for a streamlined routine that delivers maximum festive impact with minimal time and supplies.
Choose the Perfect Location for Your Wax Warmer
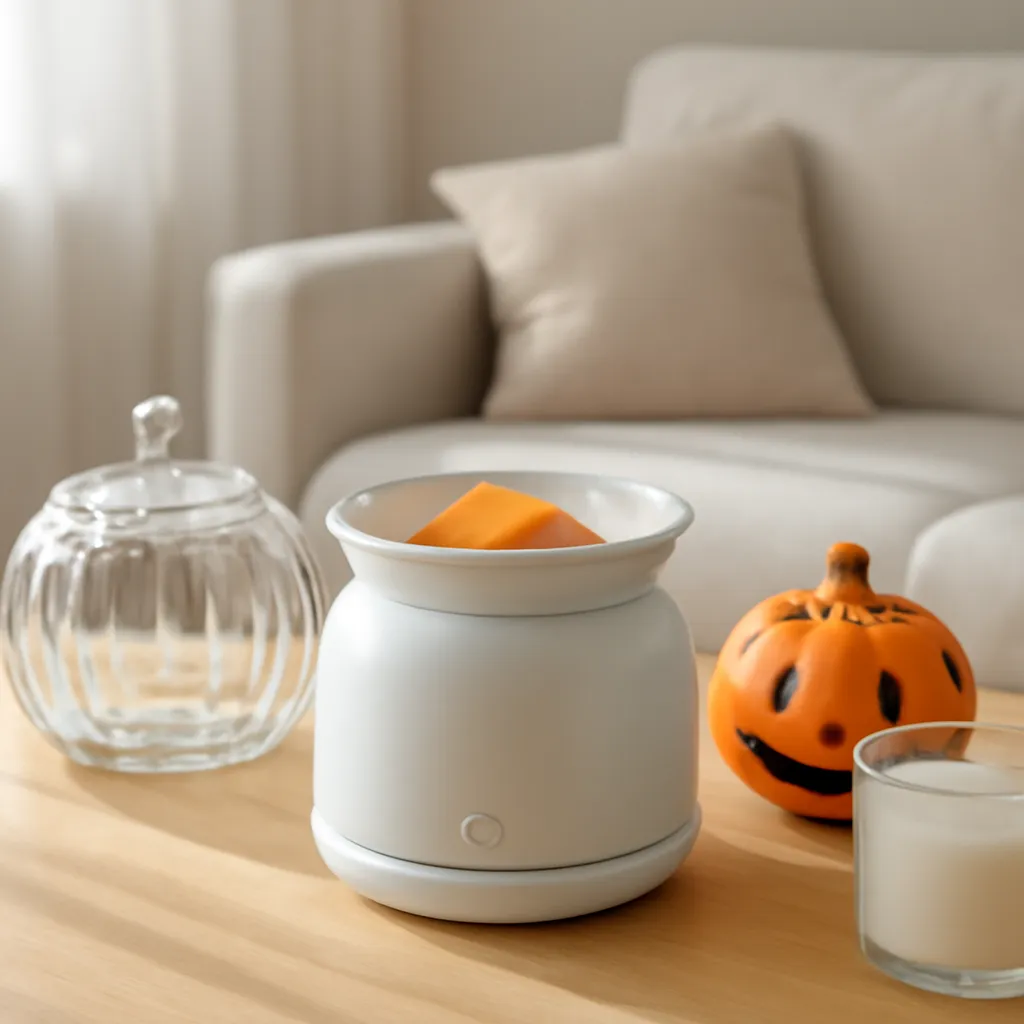
The first step to a successful Halloween electric wax warmer setup is selecting the right spot. Placement matters for both safety and visual impact. Ideally, choose a flat, stable surface away from the edges of tables or shelves. Avoid areas where children or pets might easily bump into the warmer. For best results, position your halloween candle warmer in a room where you spend the most time—think the living room coffee table, a hallway console, or the kitchen island. This ensures the fragrance disperses evenly and the decor is appreciated by all.
Natural focal points, such as a mantel or entryway table, make excellent choices. These spots allow your electric skull wax warmer to shine as a centerpiece, drawing attention with its unique design. Make sure there’s an accessible power outlet nearby, but avoid placing the warmer directly under shelves or cabinets where heat could build up. Always consult your product manual for specific clearance recommendations. By thoughtfully selecting your location, you set the stage for both safety and style.
Check Your Electrical Setup and Safety Precautions
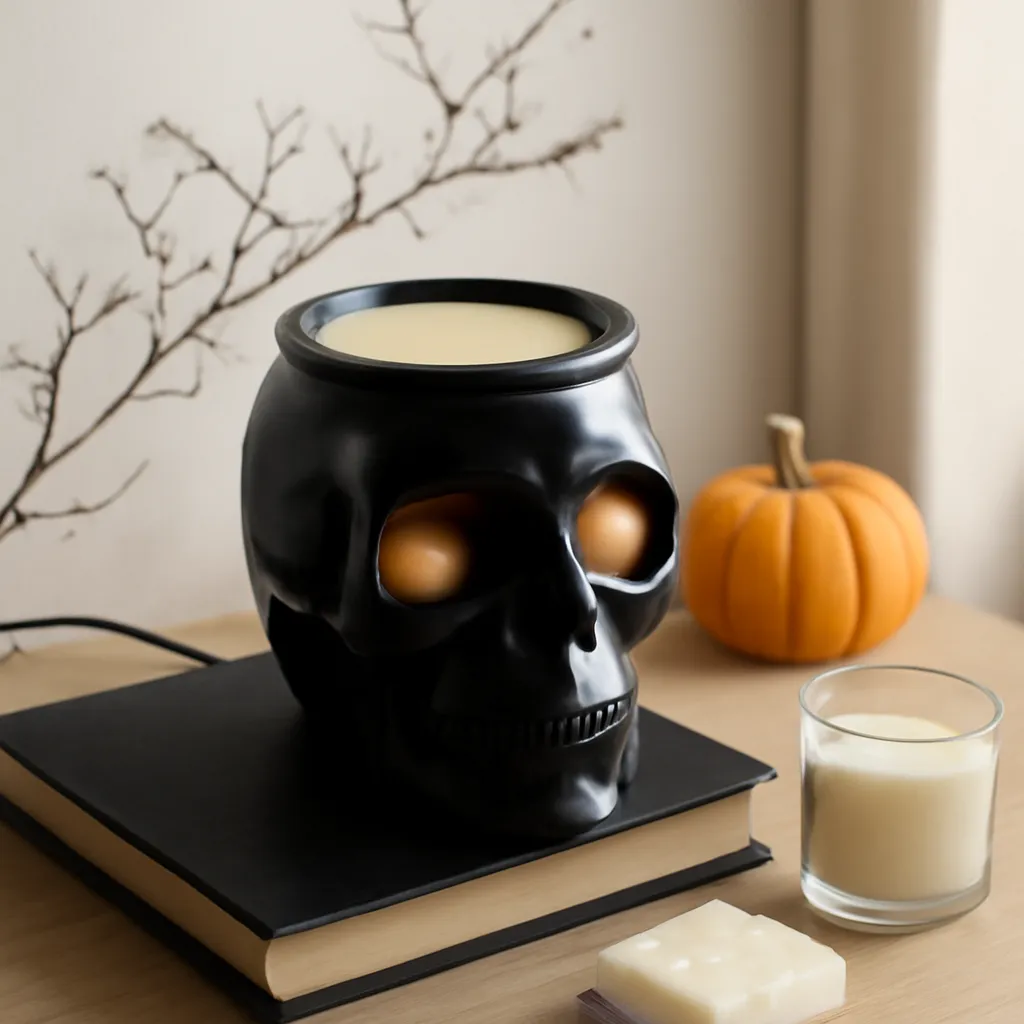
Before plugging in your halloween electric wax warmer, take a moment to review electrical safety. Inspect the cord and plug for any signs of damage or wear. Never use an appliance with frayed wires or loose connections. Plug your warmer directly into a wall outlet, avoiding extension cords or power strips whenever possible. This reduces the risk of overheating and ensures a steady power supply. If your warmer features a switch or dimmer, familiarize yourself with its operation before use.
Ensure the area around your halloween candle warmer is free from clutter and flammable materials. Keep decorative fabrics, paper, and other items at least several inches away from the warmer. If you have children or pets, consider placing the warmer on a higher surface or behind a decorative barrier. Always follow the manufacturer’s guidelines for safe operation and never leave your electric skull wax warmer unattended while in use. Taking these precautions guarantees a worry-free, cozy experience.
Add Wax Melts and Select Your Scent
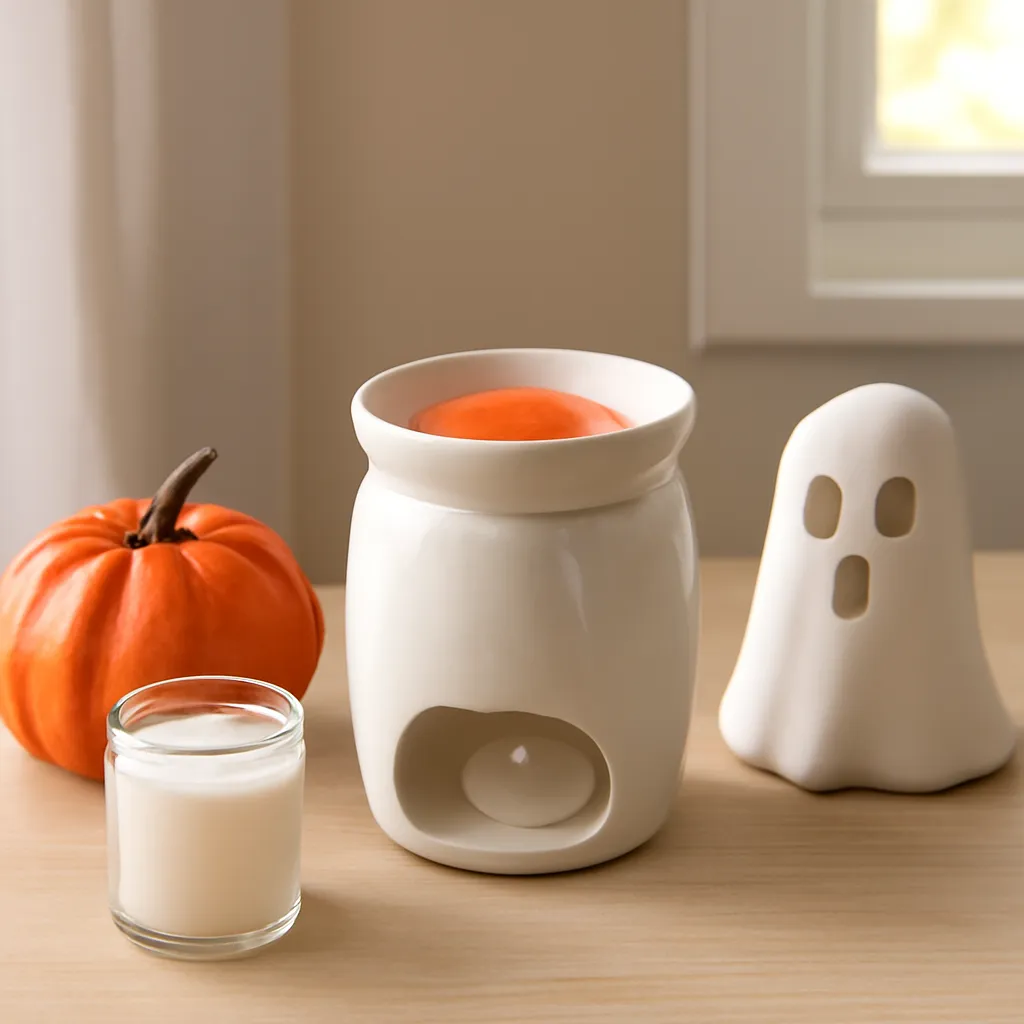
With your warmer in place and safety checks complete, it’s time to add fragrance. Start by choosing high-quality wax melts designed for use with electric warmers. For Halloween, scents like pumpkin spice, cinnamon, vanilla, or smoky cedar evoke the season beautifully. Place one or two wax cubes in the warmer’s dish, following your product’s recommended fill line. Avoid overfilling, as excess wax can spill or take longer to melt.
Turn on your halloween electric wax warmer and allow a few minutes for the wax to liquefy. Soon, you’ll notice the scent gently filling the room. If you love variety, consider mixing two complementary fragrances for a custom blend—try pumpkin with caramel, or vanilla with a hint of clove. For a curated selection, the soy candle collection at TadaVN Candles features seasonal blends perfect for this time of year. Remember to replace wax once the fragrance fades, and always allow the dish to cool before handling.
Three Effortless Halloween Decor Accents
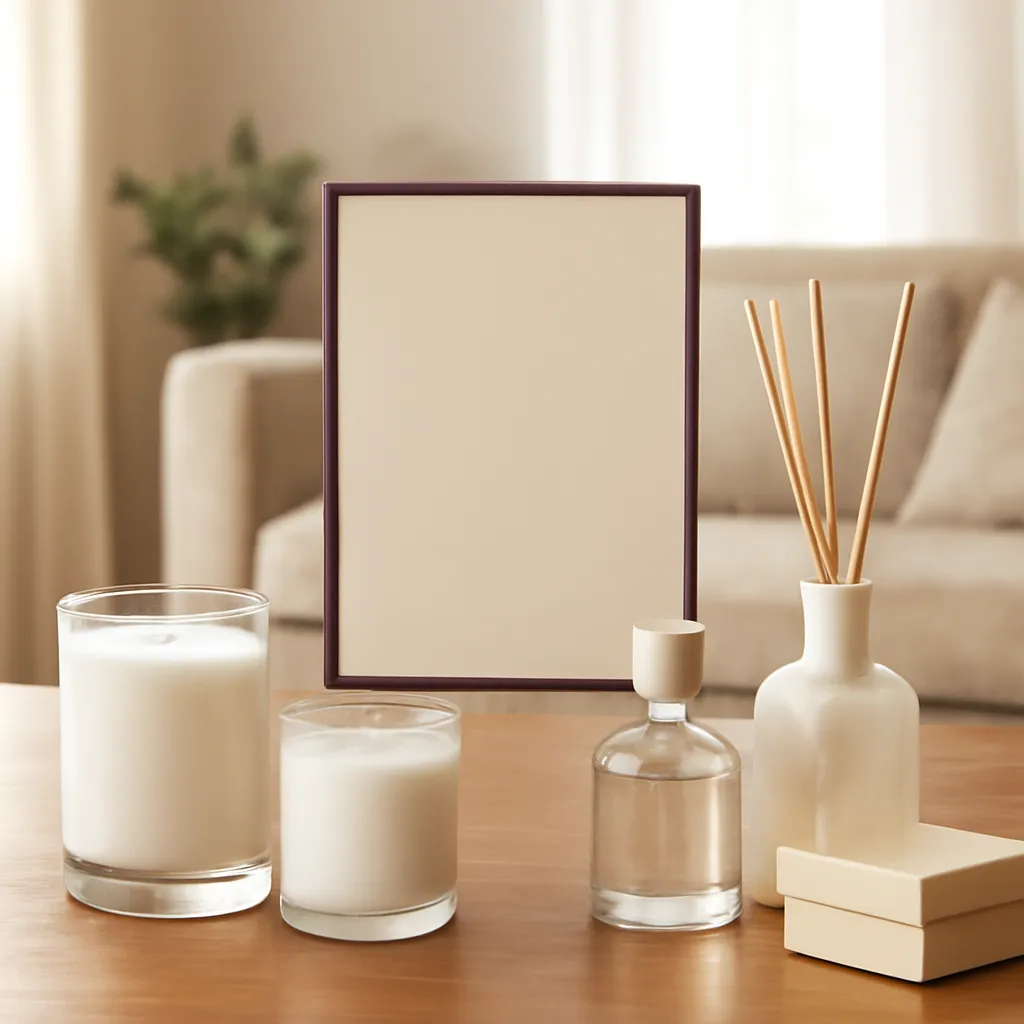
To make your halloween candle warmer truly stand out, surround it with three simple yet impactful decorative accents. Start with a miniature pumpkin—real or faux—placed beside the warmer for an instant touch of autumn. Next, add a dark-toned book or vintage-style accessory to introduce a subtle Gothic vibe. Finally, tuck a dried branch or sprig of eucalyptus nearby for texture and a hint of nature. This trio creates a balanced, visually appealing vignette without overwhelming your space.
Choose accents that complement the design of your electric skull wax warmer. For example, if your warmer features metallic details, opt for brass or copper decor. If you prefer a monochrome look, stick to black, white, and gray elements. Arrange your accents in a loose triangle around the warmer, varying heights for visual interest. Avoid crowding the area—leave enough space for heat to dissipate safely. With just these three pieces, you’ll achieve a polished, magazine-worthy Halloween display in minutes.
Manage Cables and Maintain a Clean Look
One often-overlooked aspect of a tidy setup is cable management. The cord of your halloween electric wax warmer should be neatly routed to avoid tangles and tripping hazards. Use adhesive cable clips or small cord organizers to secure the cord along the back of your table or shelf. If possible, run the cable behind furniture or along the wall to keep it out of sight. This not only enhances the look but also reduces the risk of accidental pulls.
Keep the area around your halloween candle warmer free from dust and debris. Wipe down surfaces before setting up your display, and periodically check for wax drips or residue. If your warmer has a removable dish, clean it regularly according to the manufacturer’s instructions. A clean, organized setup ensures that your decor remains the focal point and that your electric skull wax warmer operates efficiently. Small details like these make a big difference in the overall presentation.
Set Your Fragrance Session and Monitor Cool Down
To maximize both safety and scent experience, plan your wax melting sessions thoughtfully. Most halloween electric wax warmers are designed for sessions of two to four hours at a time. Set a timer on your phone or use the built-in timer feature if your model includes one. This helps you enjoy the fragrance without overusing the device, extending both the life of the wax and the warmer itself.
When your session is complete, turn off the halloween candle warmer and allow it to cool fully before touching or moving it. The wax will solidify as it cools, making it easy to remove and replace for your next use. Never attempt to handle hot wax or move the electric skull wax warmer while it’s still warm. Following these simple habits ensures a safe, enjoyable routine every time you want to refresh your home fragrance.
Quick Checklist for a 10-Minute Halloween Wax Warmer Setup
- Choose a safe, visible location with easy access to an outlet.
- Inspect the cord and plug for safety; avoid extension cords.
- Add one or two wax cubes in your preferred seasonal scent.
- Arrange three simple Halloween accents around the warmer.
- Secure and hide cables for a tidy appearance.
- Set a timer for your fragrance session (2-4 hours recommended).
- Allow the warmer to cool fully before handling or refilling.
This checklist ensures you won’t miss a step, and helps you achieve a polished look every time. Keep it handy for future reference, especially as you switch up scents or decor throughout the season.
Choosing Between Electric Skull Wax Warmers and Other Styles
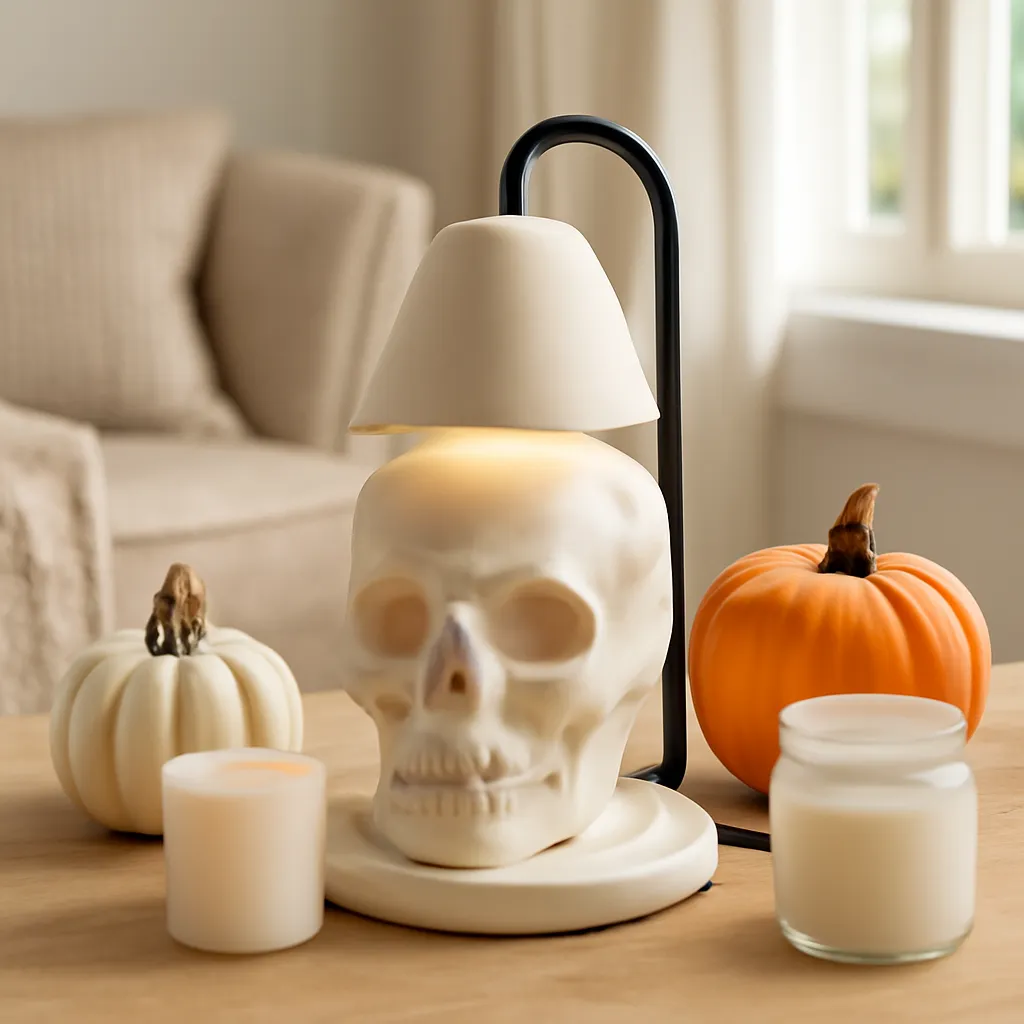
When selecting a halloween electric wax warmer, you’ll find a range of designs—from classic ceramic pumpkins to more dramatic skull motifs. The electric skull wax warmer is a standout choice for those who love a touch of Gothic flair. Its bold silhouette and intricate details make it a conversation piece, perfect for Halloween parties or themed gatherings. Pair it with dark-toned accents and moody lighting for maximum effect.
Other styles, such as pumpkin-shaped or cauldron-inspired warmers, offer a softer, playful vibe. These are ideal for family-friendly spaces or subtle seasonal updates. Consider your overall decor style and the mood you want to create. If you’re shopping for a gift, the Skull Candle Warmer Lamp makes a memorable, practical present for any Halloween enthusiast. Whatever your choice, ensure the warmer meets safety standards and suits your fragrance needs.
Refresh and Rotate Decor for Lasting Appeal
One of the joys of using a halloween electric wax warmer is the ease with which you can update your display. As the season progresses, swap out your three decorative accents to keep the look fresh. Try miniature gourds, velvet pumpkins, or metallic leaves for a different twist. For a more dramatic effect, add a black lace runner or a cluster of dark candles (unlit for safety) nearby. These small changes keep your setup feeling new and exciting throughout fall.
Don’t forget to experiment with new scents as well. The home fragrance selection at TadaVN Candles offers a variety of wax melts and essential oil blends that pair beautifully with Halloween decor. By rotating both your accents and fragrances, you’ll enjoy a dynamic, ever-evolving seasonal display that delights both you and your guests.
Conclusion: Complete Your Cozy Halloween Home with TadaVN Candles
Creating a warm, inviting Halloween atmosphere doesn’t require hours of effort or a clutter of decorations. With a thoughtfully chosen halloween electric wax warmer, a few simple accents, and your favorite seasonal scent, you can transform any space in just minutes. This quick routine brings both style and comfort to your home, setting the perfect mood for autumn gatherings or quiet evenings in. For those seeking quality, safety, and unique design, TadaVN Candles offers a curated selection of wax warmers and fragrances to complete your setup. Discover the difference a beautifully scented home can make by exploring their scented candles and warmers today.